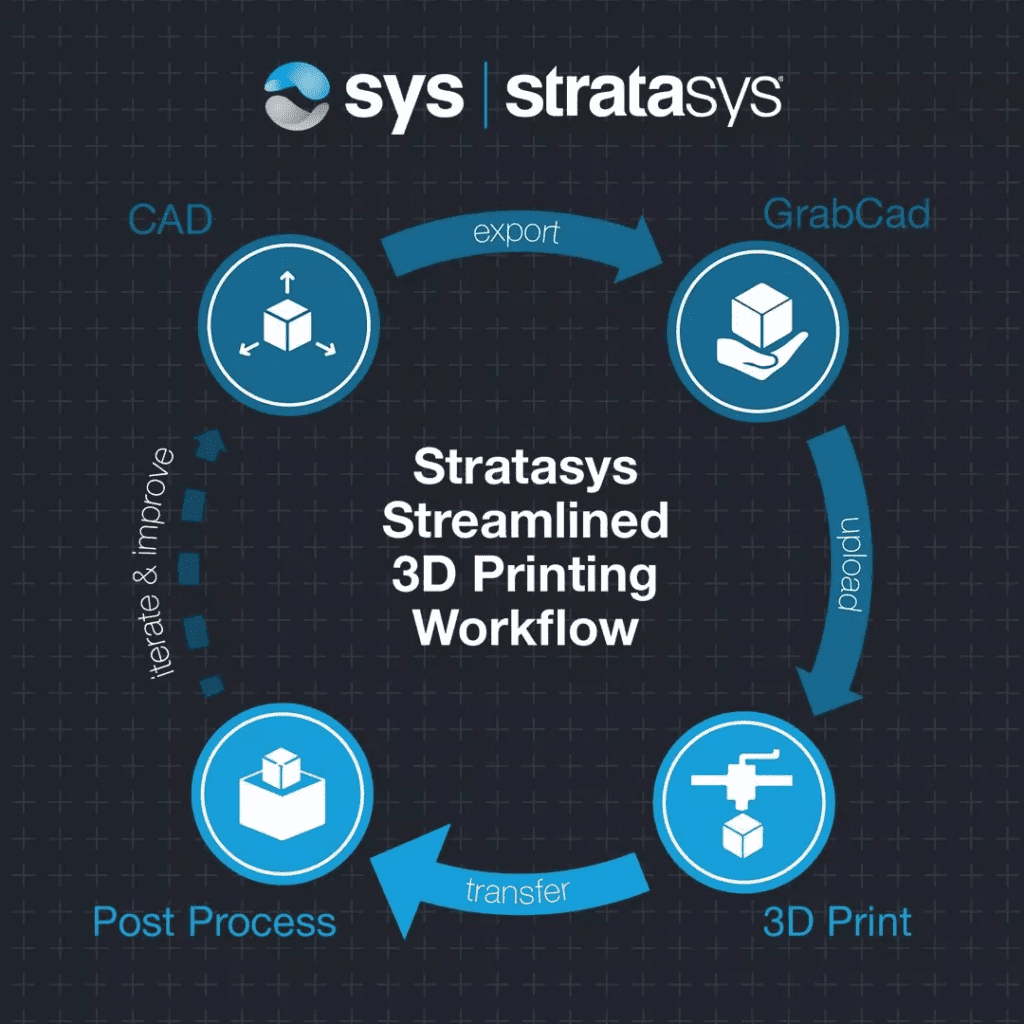
3D printing in 4 easy steps with GrabCAD
Industrial 3D printing has never been so easy, and so agile. Offering full flexibility against traditional manufacturing processes, digital manufacturing is quickly becoming the preferred choice for speed, flexibility and accuracy across industries. But how can designers and engineers best make use of this powerful technology?
To help answer that question, we’ve put together this step-by-step guide to taking designs from ideation through to final part production using a Stratasys 3D printer and a customised GrabCAD Print interface designed specifically for use with Stratasys technologies.
- Step 1. Export
- Step 2. Upload
- Step 3. Transfer
- Step 4. Iterate and improve
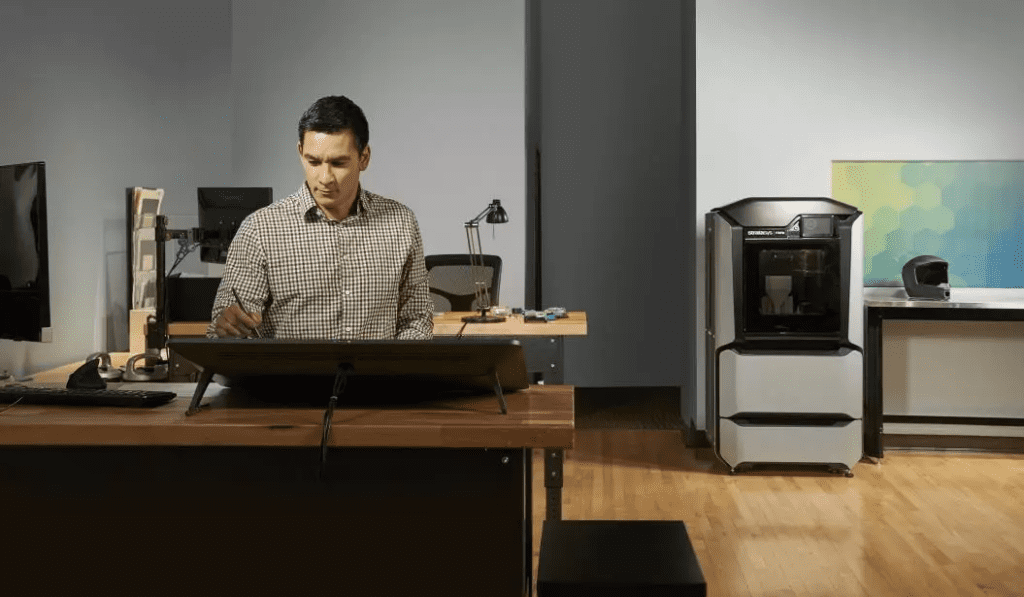
Step 1. Export
Connect and convert from anywhere
Design freely
Refine easily
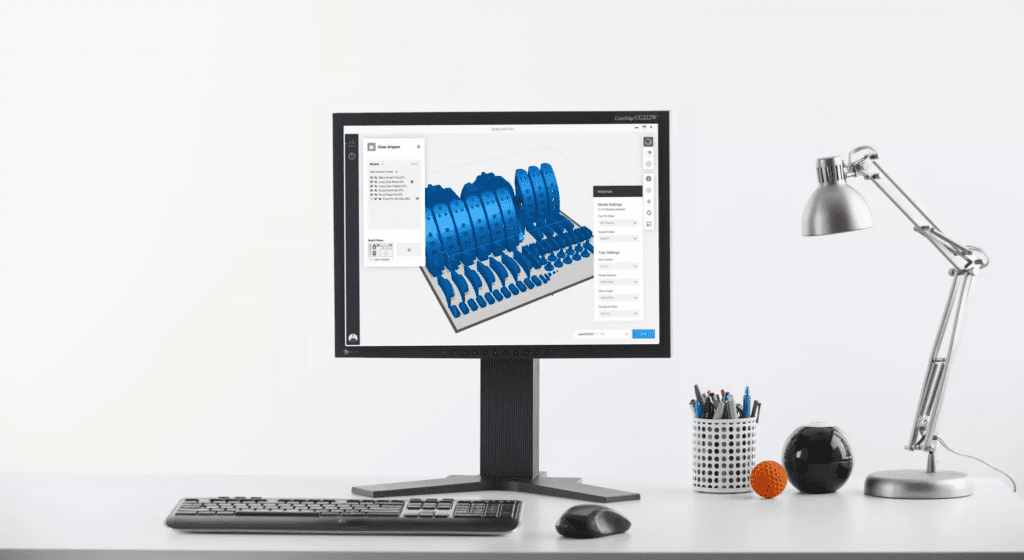
Step 2: Upload
Estimate your cost to print
Once you’ve added all your product information and you’ve finishing reviewing your design, you can use the built-in costing tools to estimate how much your product will cost to produce, as well as preview your work before sending it to the printer.
Sophisticated, geometry-specific tools help you to design and build parts that require less weight and material to produce, without compromising on strength. You can select from a range of build materials and select whether or not you want the object to be printed one-at-a-time or in multi-part batches.
Advanced scheduling
You can also choose whether you want the prints to take place automatically when the machine becomes available or on a set schedule that you choose yourself. Finally, you can send your design to the printer to print at the click of a button or save it for further refinement before you send it to print at a later date.
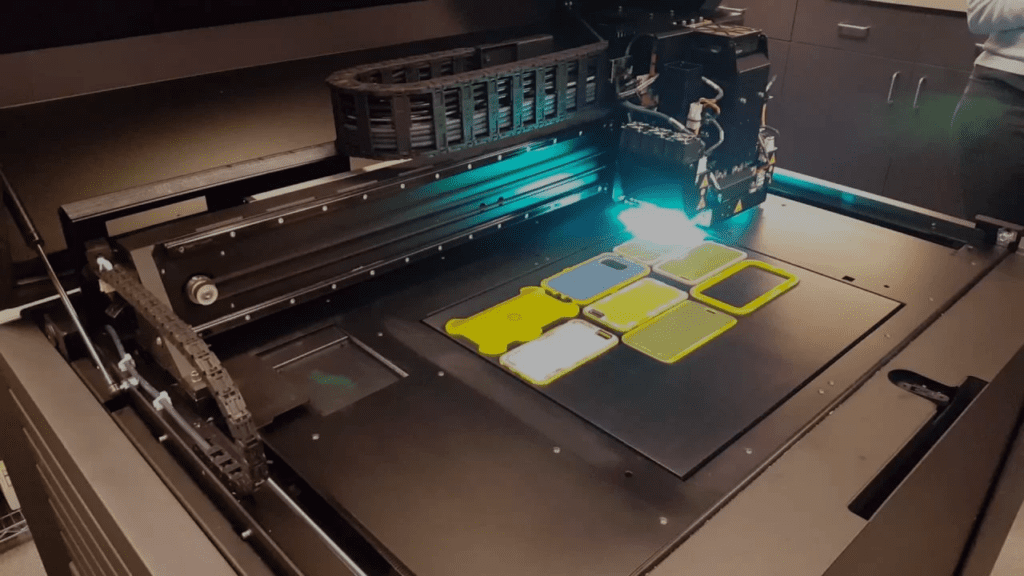
Step 3: Transfer
Press print and walk away
Once you’ve pressed print or scheduled your print and the machine is ready, your design will begin printing automatically and the GrabCAD Print app will automatically notify you when it’s complete.
Share your project
15% of a typical shop’s week is wasted tracking down work order requirements and communicating status between engineers, designers and operators. GrabCAD Shop solves this by uniting all of your shop floor documents in one easily accessible location. Additionally, you can associate designs with specific manufacturing operations, making communication between design and manufacturing teams easier.
Schedule and monitor remotely
You can print from anywhere, whether scheduling remotely, on mobile or from a browser and then monitor your print remotely, as well as organise print queues for 24/7 unmanned printing.

Step 4. Iterate and improve
Choose additive manufacturing with Stratasys & SYS
SYS Systems is the UK’s dedicated platinum partner to Stratasys. Offering exclusive options for additive manufacturing in full-colour, with a wide range of materials suitable for manufacturing parts and products of all sizes and shapes, we help you begin your journey into additive manufacturing. Be it to replace or complement your existing manufacturing processes, our team are on hand to show you how additive manufacturing can work for you.